![]()
If you're planning to seal dozens of invitations, then using this electric sealing wax warmer is the quickest, cleanest and most efficient method. It works with both modern glue gun wax sticks and traditional wax beads.
- EASY to use; no flame required.
- WORKS with both 10mm glue gun wax sticks and wax beads.
- Measures 11.5cm/4.5" in diameter and 7cm/2.75" in height, with a capacity of 50ml/1.7oz.
- Voltage: 60 Watts.
- Includes melting pot only. Sealing wax must be purchased separately.
- North America power plug. Buy together with our adapter for use in other countries.
Package include:
1 x electric furnace
Warning:
1.Due to manual measurement, please allow 1-3cm error, thank you
2.Due to shooting problems such as light, there will be chromatic aberration, please be careful.
HOW TO USE A MELTING POT:
- Put some wax sticks or beads in the melting pot and plug it in.
- It takes 2 to 3 minutes for the wax to melt. In the meantime, we can grease the stamp head and its side with a little cooking oil or skin oil. It can make demanding much easier.
- Pour some melted wax onto what you want to seal.
- Press the stamp firmly into the wax. Wait for 20 to 30 seconds for the wax to be set.
- Once the wax has cooled, hold the envelope and lift the stamp gently.
Pease kindly note that special offers do not support modifying product combinations.
We provide more advanced kits and peripheral products in the following list:
DIY Custom Logo Stamp Available Here: >>CUSTOM
More Advanced Accessories Here: >> ACCESSORIES
More Advanced Handle: >> HANDLE
Also, How about_SELF ADHESIVE SEALS? >>_CLICK HERE
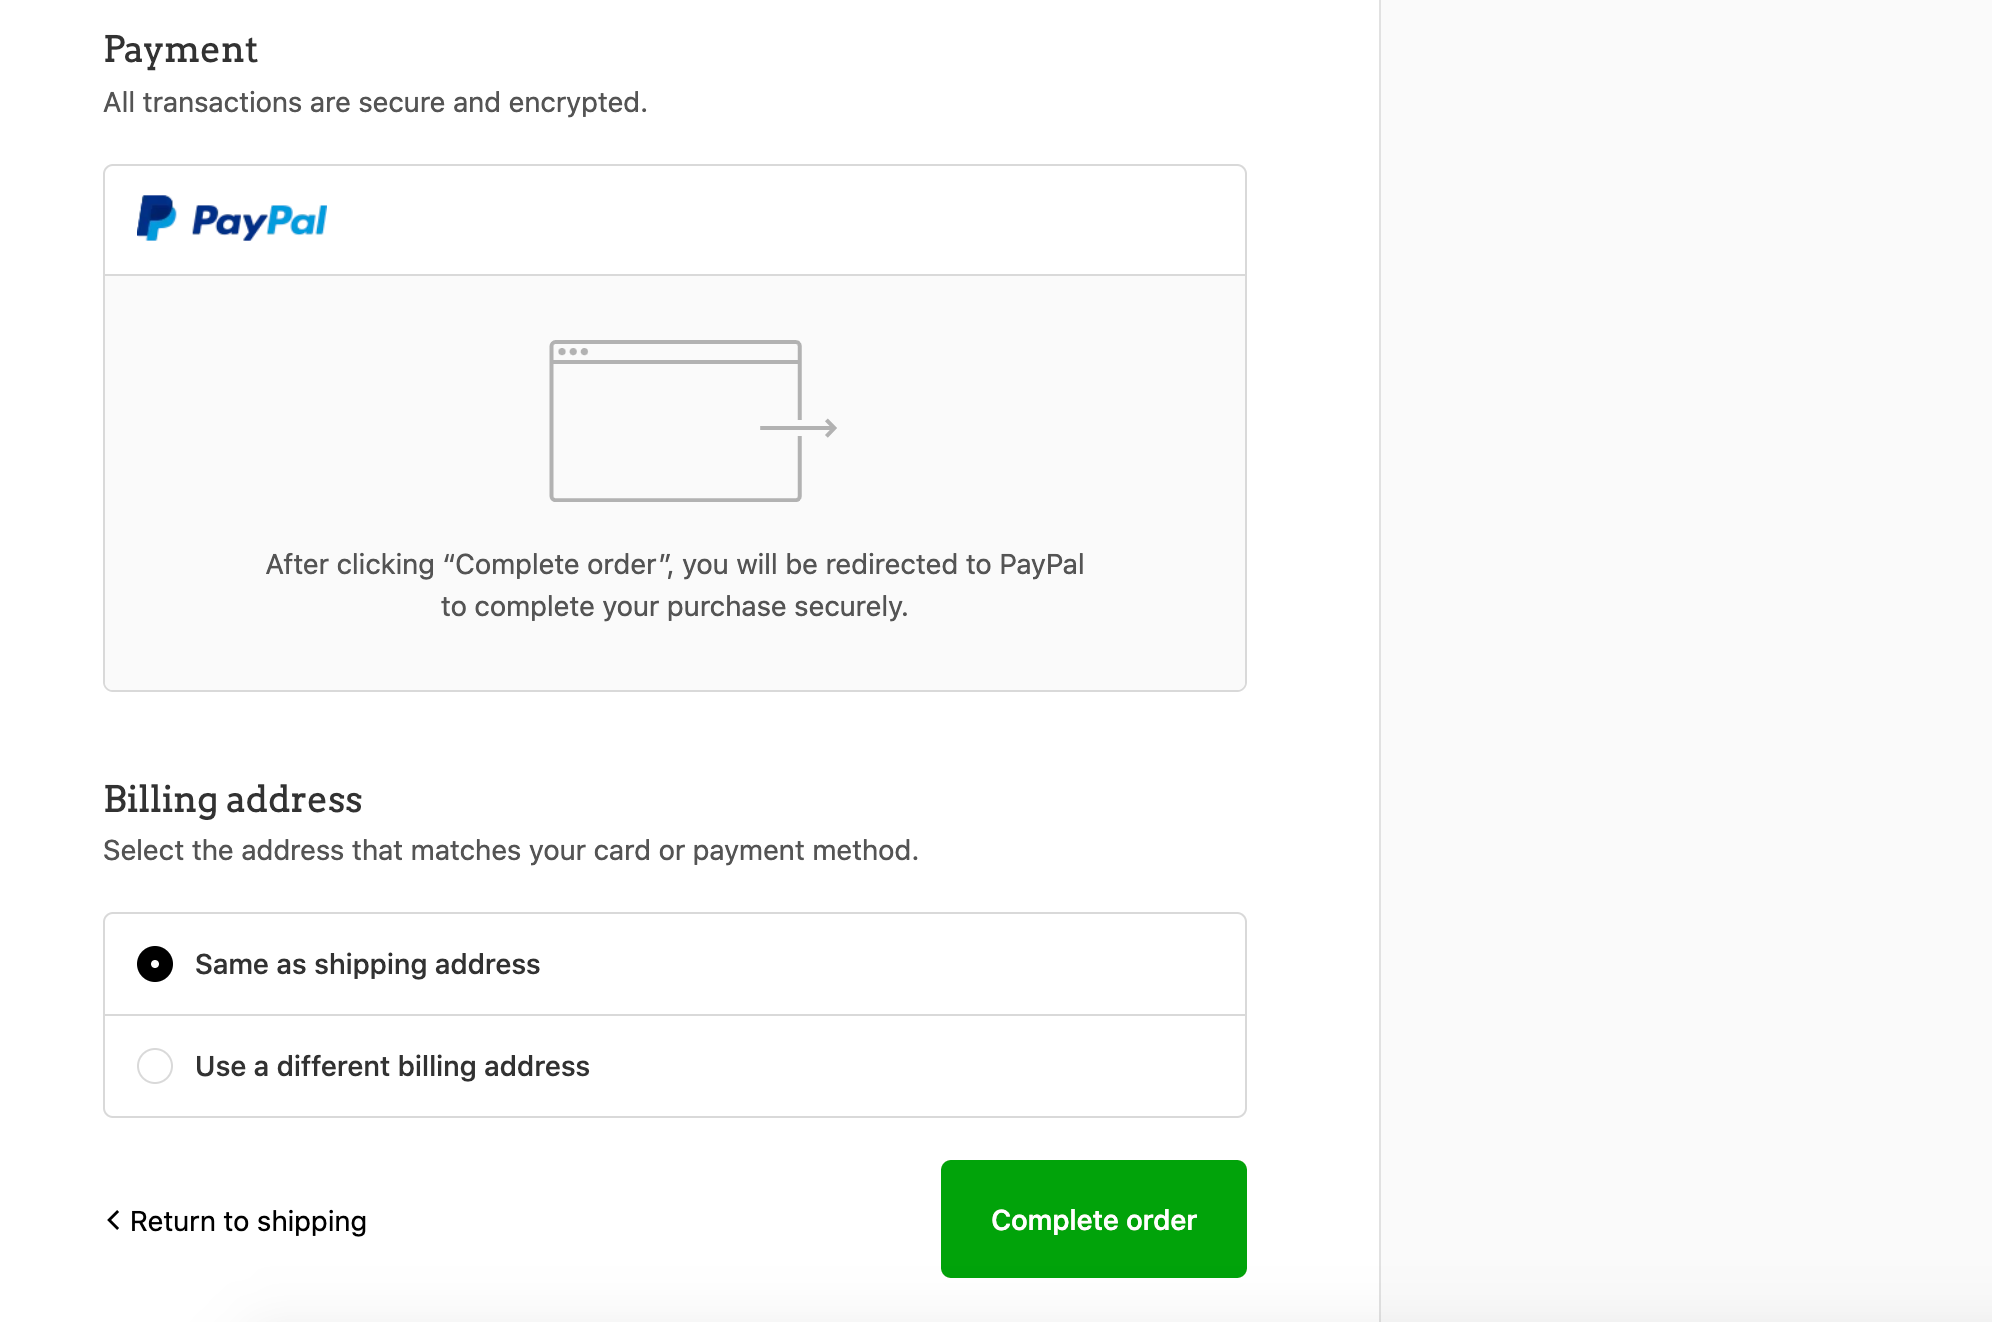
How to pay by credit card in PayPal?
When you do not have a PayPal account and want to pay with a credit card, you can follow this process:
Step 1. At the last step of checkout, select PayPal as the payment method for the complete order.

Step 2. On the PayPal payment page that pops up, find the Pay with Credit or Debit Card button and click to enter the next step.

Step 3. Then you will see the credit card payment page, after completing the requirements, see the bottom of the page, click Pay Now to complete the payment.

![- Wax Seal Stamp - [Royal Wax Seals]](http://img.staticdj.com/5f77bf6ad5deadc08da43c7ebb6e473f_600x.png)
![ELECTRIC SEALING WAX MELTING POT - 60W Heater - Wax Seal Stamp - [Royal Wax Seals]](http://img.staticdj.com/5a14576d3dfc7c419e83e6042de24b91_1080x.jpeg)
![ELECTRIC SEALING WAX MELTING POT - 60W Heater - Wax Seal Stamp - [Royal Wax Seals]](http://img.staticdj.com/76de71a1194b1cc87425ba778d68bb54_1080x.jpeg)
![ELECTRIC SEALING WAX MELTING POT - 60W Heater - Wax Seal Stamp - [Royal Wax Seals]](http://img.staticdj.com/466bab399e43bb32025d063583604b95_1080x.jpeg)
![ELECTRIC SEALING WAX MELTING POT - 60W Heater - Wax Seal Stamp - [Royal Wax Seals]](http://img.staticdj.com/160f666883b59f8d4e2bbe9357802c17_1080x.jpeg)
![ELECTRIC SEALING WAX MELTING POT - 60W Heater - Wax Seal Stamp - [Royal Wax Seals]](http://img.staticdj.com/25ef56d47d37e401bc6edb5c5442cbf9_1080x.jpeg)
![ELECTRIC SEALING WAX MELTING POT - 60W Heater - Wax Seal Stamp - [Royal Wax Seals]](http://img.staticdj.com/7b62b7781a72a684bff8ad6e1ce14927_1080x.jpeg)
![ELECTRIC SEALING WAX MELTING POT - 60W Heater - Wax Seal Stamp - [Royal Wax Seals]](http://img.staticdj.com/5a14576d3dfc7c419e83e6042de24b91_100x.jpeg)
![ELECTRIC SEALING WAX MELTING POT - 60W Heater - Wax Seal Stamp - [Royal Wax Seals]](http://img.staticdj.com/76de71a1194b1cc87425ba778d68bb54_100x.jpeg)
![ELECTRIC SEALING WAX MELTING POT - 60W Heater - Wax Seal Stamp - [Royal Wax Seals]](http://img.staticdj.com/466bab399e43bb32025d063583604b95_100x.jpeg)
![ELECTRIC SEALING WAX MELTING POT - 60W Heater - Wax Seal Stamp - [Royal Wax Seals]](http://img.staticdj.com/160f666883b59f8d4e2bbe9357802c17_100x.jpeg)
![ELECTRIC SEALING WAX MELTING POT - 60W Heater - Wax Seal Stamp - [Royal Wax Seals]](http://img.staticdj.com/25ef56d47d37e401bc6edb5c5442cbf9_100x.jpeg)
![ELECTRIC SEALING WAX MELTING POT - 60W Heater - Wax Seal Stamp - [Royal Wax Seals]](http://img.staticdj.com/7b62b7781a72a684bff8ad6e1ce14927_100x.jpeg)